


Before replacing weather stripping, assess door and trim damage, carefully remove old strips, wash vehicle to eliminate residue, inspect for surface issues like rust or cracks, take accurate measurements, cut and insert new strips firmly, and seal edges with caulk for enhanced energy efficiency and vehicle protection. This meticulous process ensures optimal results in weather stripping replacement, maintaining aesthetics and vehicle condition.
After replacing weather stripping, proper cleaning ensures optimal performance and longevity. This guide walks you through the essential steps post-installation. Begin by assessing any damage from old stripping and removing it carefully. Prepare the surface by clearing away debris and ensuring a clean, dry area for new stripping. Learn how to install and secure the new weather stripping effectively, maintaining a tight seal for maximum protection against elements. Follow these steps for a successful weather stripping replacement.
- Assess Damage and Remove Old Weather Stripping
- Prepare Surface for New Weather Stripping Installation
- Install and Secure New Weather Stripping Effectively
Assess Damage and Remove Old Weather Stripping

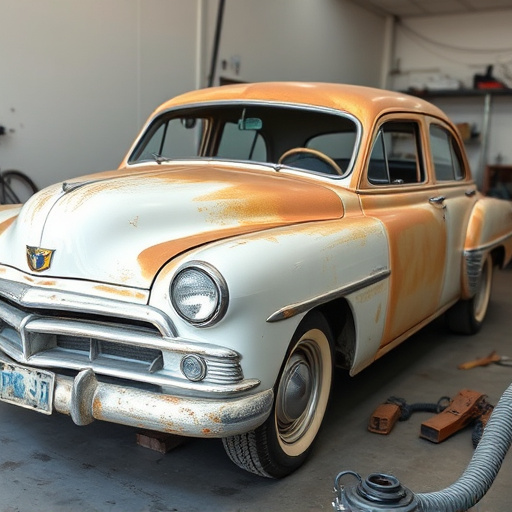
Before beginning the process of cleaning your newly replaced weather stripping, it’s crucial to assess any damage that may have occurred during installation or over time. Inspect the existing condition of the door sills and trim where the weather stripping is attached. Look for cracks, peeling, or any signs of deterioration in the plastic or rubber material. If there are visible car scratches or damage to the paintwork, consider using appropriate car scratch repair kits to restore the surface before cleaning.
Carefully remove the old weather stripping from your vehicle. Start by gently prying off the ends using a flathead screwdriver or a thin tool like a credit card. Be mindful of the surrounding areas and avoid damaging any nearby parts. Once removed, examine the gaps where the weather stripping was previously attached to ensure an even fit for new strips. This step is particularly important in luxury vehicle repair, as proper alignment ensures the car maintains its sleek and polished appearance.
Prepare Surface for New Weather Stripping Installation

Before installing new weather stripping, it’s crucial to prepare the surface thoroughly. Start by washing and drying the car or vehicle thoroughly. This step is essential to ensure that any dirt, grease, or residue doesn’t interfere with the adhesion of the new weather stripping. Use a mild detergent and a soft cloth or sponge for the washing process, being careful around sensitive areas like the window frames and door seals.
Once cleaned, inspect the surface for any damage, such as rust or cracks. If found, these issues should be addressed before proceeding with the replacement. Minor repairs might involve patching or painting, while more severe cases may require a trip to a car body shop for vehicle restoration. The goal is to create a clean, smooth, and undamaged canvas for your new weather stripping, ensuring optimal adherence and longevity of the replacement parts.
Install and Secure New Weather Stripping Effectively

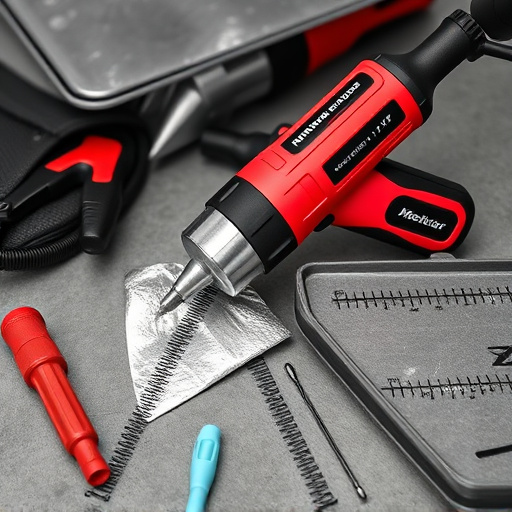
After removing the old weather stripping, it’s crucial to install and secure new ones properly for optimal protection. Start by measuring the gaps around your doors or windows accurately to ensure a precise fit. Cut the new weather stripping to size using a sharp pair of scissors or a utility knife. Insert the stripping into the grooves or channels along the door or window frame, making sure it sits securely in place.
Use adhesive or specialized clips recommended by the manufacturer to fix the stripping firmly. For tighter fits, consider sealing the edges with caulk to prevent air leaks. Properly installed weather stripping not only enhances energy efficiency but also acts as a crucial barrier against car dent removal and intrusion of elements, keeping your vehicle in top condition like services provided by a reliable auto repair shop.
After successfully installing new weather stripping, it’s crucial to ensure proper cleaning to maintain its effectiveness. Begin by assessing any remaining debris or old material from the removal process. Prepare the surface by wiping it down with a damp cloth to eliminate dust and grime. Once installed, securely fasten the new weather stripping and clean any excess adhesive or debris using a soft brush or vacuum. Regular maintenance includes periodic cleaning to prevent buildup, ensuring your replacement weather stripping performs optimally in sealing out elements and maintaining indoor comfort.