


Regular weather stripping replacement is crucial for vehicle upkeep, protecting interiors from water, dust, and debris intrusion. It enhances fuel efficiency by reducing drag and acts as insulation against extreme temperatures. Inspect for common wear and tear signs like fraying or cracking to prevent further damage. The simple process involves removing old sealing, applying adhesive, and pressing new weather stripping into place, boosting comfort and preventing body shop damage from harsh weather conditions.
Weather stripping replacement is a simple yet powerful way to enhance your vehicle’s comfort and performance. Understanding how exterior seals keep out elements, especially in extreme conditions, is key to recognizing its benefits. This article guides you through the process, from identifying worn-out strips to providing step-by-step instructions for effective replacement. Learn why updating this often overlooked component can make a noticeable difference in your driving experience.
- Understanding Weather Stripping: Its Role and Benefits
- Identifying Wear and Tear: Signs Your Strips Need Replacing
- The Process: How to Replace Weather Stripping Effectively
Understanding Weather Stripping: Its Role and Benefits
Weather stripping, often overlooked, plays a pivotal role in maintaining the comfort and integrity of a vehicle. It acts as a protective barrier, sealing gaps between the car’s body panels and the elements outside. This simple yet effective component prevents unwanted intrusion of water, dust, and debris, ensuring an optimal driving experience.
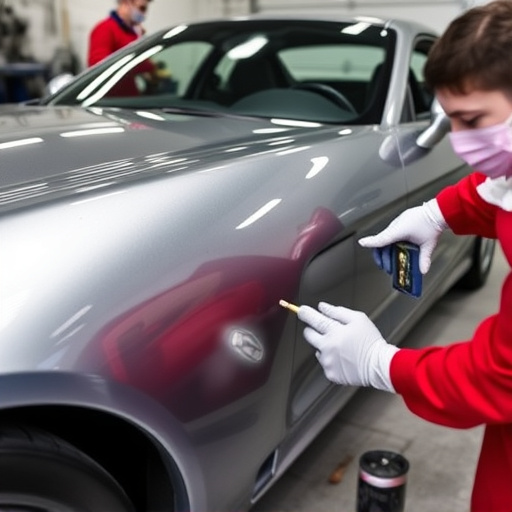
Regular weather stripping replacement is a proactive measure that offers numerous advantages. By keeping the interior dry and clean, it minimizes the risk of damage to car paint repair and interior components, often caused by prolonged exposure to moisture. Moreover, well-maintained weather stripping enhances fuel efficiency, as it reduces drag from open gaps, effectively functioning as an insulator against extreme temperatures, much like dent repair on a car’s exterior. This ultimately contributes to better overall automotive repair and maintenance.
Identifying Wear and Tear: Signs Your Strips Need Replacing
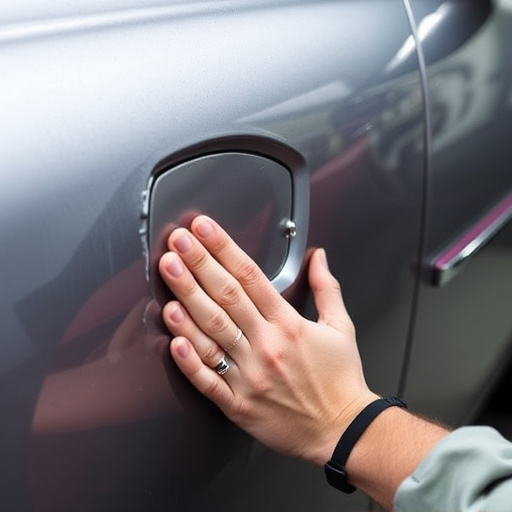
Over time, weather stripping takes a beating from exposure to harsh elements like sun, snow, and wind. As it degrades, it can start to show signs of wear and tear, indicating that it’s time for a replacement. Keep an eye out for these common indicators that your vehicle’s weather stripping needs attention:
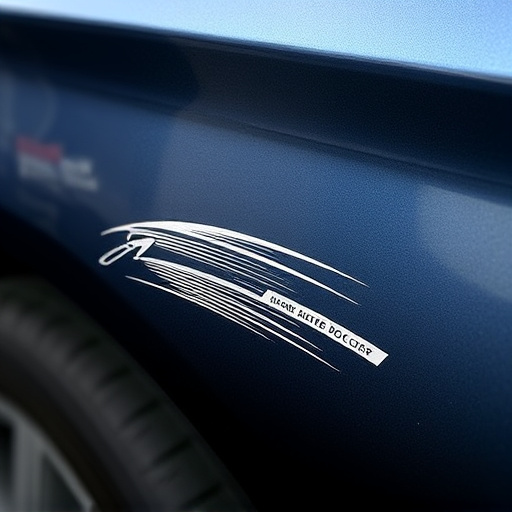
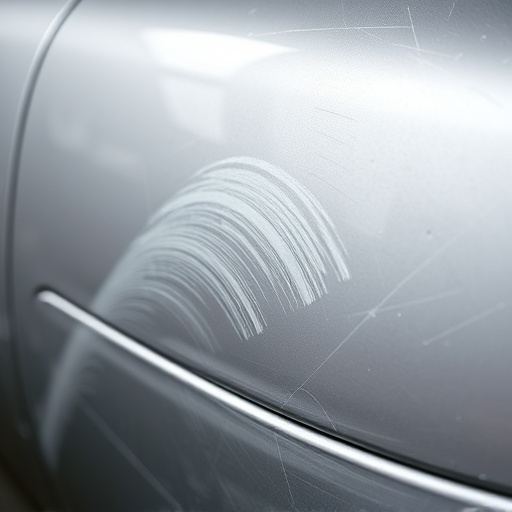
1. Fraying or Cracking: If you notice any frayed edges or deep cracks in the rubber or vinyl strips, especially around doors and windows, it’s a clear sign of severe weathering. These damaged areas not only look unsightly but also fail to provide adequate sealing, allowing elements to seep into your vehicle’s interior.
2. Loss of Flexibility: Weather stripping should remain pliable to ensure proper sealing. If yours has become stiff and brittle, it may be dried out or damaged. This loss of flexibility can lead to gaps that allow water, snow, and dust to enter the cabin when you open the doors.
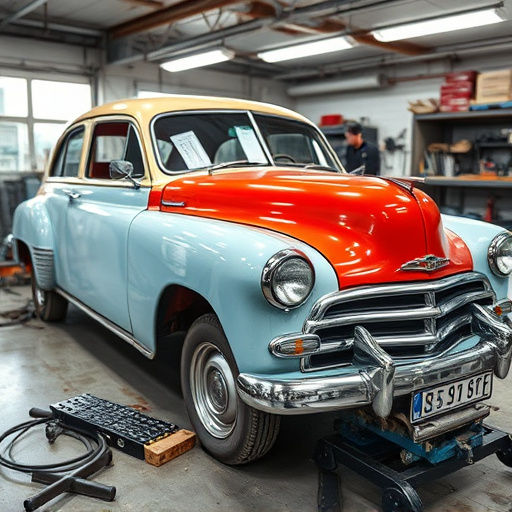
3. Visible Gaps: Check for any noticeable gaps between the weather stripping and your vehicle’s body panels. These openings not only look unappealing but also compromise the seal, leading to discomfort during driving in varying weather conditions. If you spot such gaps, it’s likely time for a mercedes benz repair or car repair services to address the issue effectively, ensuring optimal comfort and protection against the elements. In severe cases, consider consulting a mercedes benz collision repair specialist.
The Process: How to Replace Weather Stripping Effectively

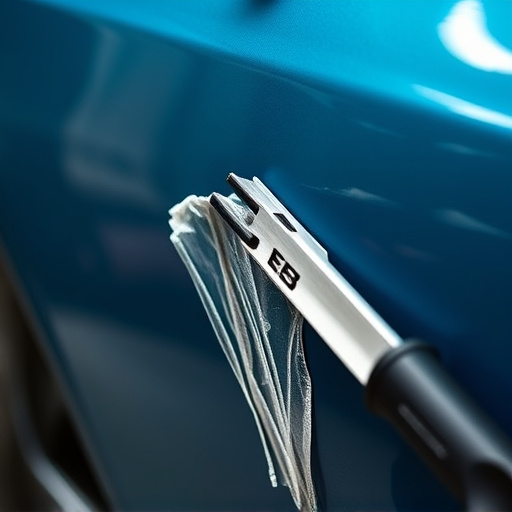
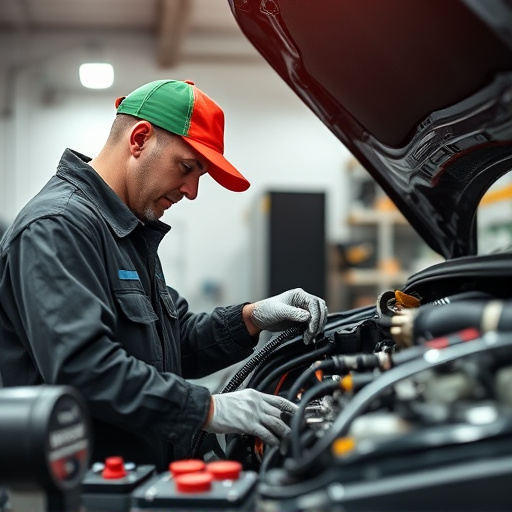
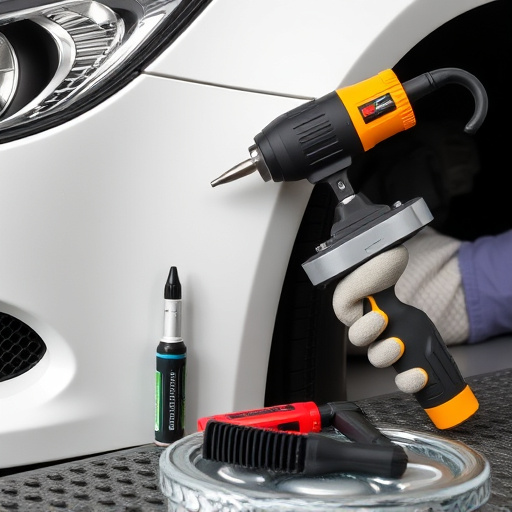
Replacing weather stripping is a straightforward yet impactful process that can significantly enhance your vehicle’s comfort and protect its interior from damage. First, identify the specific weather stripping components that need replacement, such as door seals or window rubber. This involves visually inspecting for any signs of wear, cracks, or gaps where air and moisture might enter. Once identified, gather the necessary tools, which typically include a utility knife, new weather stripping pieces, and adhesive.
Next, carefully remove the old weather stripping by cutting it away from the vehicle’s body using the utility knife. Ensure you have a clean surface to attach the new stripping. Apply the adhesive according to the manufacturer’s instructions and position the new weather stripping in place. Press firmly for a secure fit. This process not only improves the overall comfort of your ride but also acts as a preventive measure against dent repair needs, as it keeps elements like rain and snow from causing damage to your vehicle’s body shop and interior.
Weather stripping replacement is a simple yet effective way to significantly enhance vehicle comfort. By addressing worn-out strips, drivers can enjoy improved insulation, reduced noise levels, and better overall protection from the elements. Understanding the importance of weather stripping and knowing when to replace it can make all the difference in maintaining a pleasant driving environment, ensuring years of comfortable travel ahead.